# How to Dockerize your ASP.NET Core app directly from Visual Studio
In this article we will see how to add docker support to ASP.NET core app directly from Visual Studio with just `3 Clicks` **without manually creating or writing any code** to `Dockerfile`.
1. Navigate to the Solution Explorer of your project and
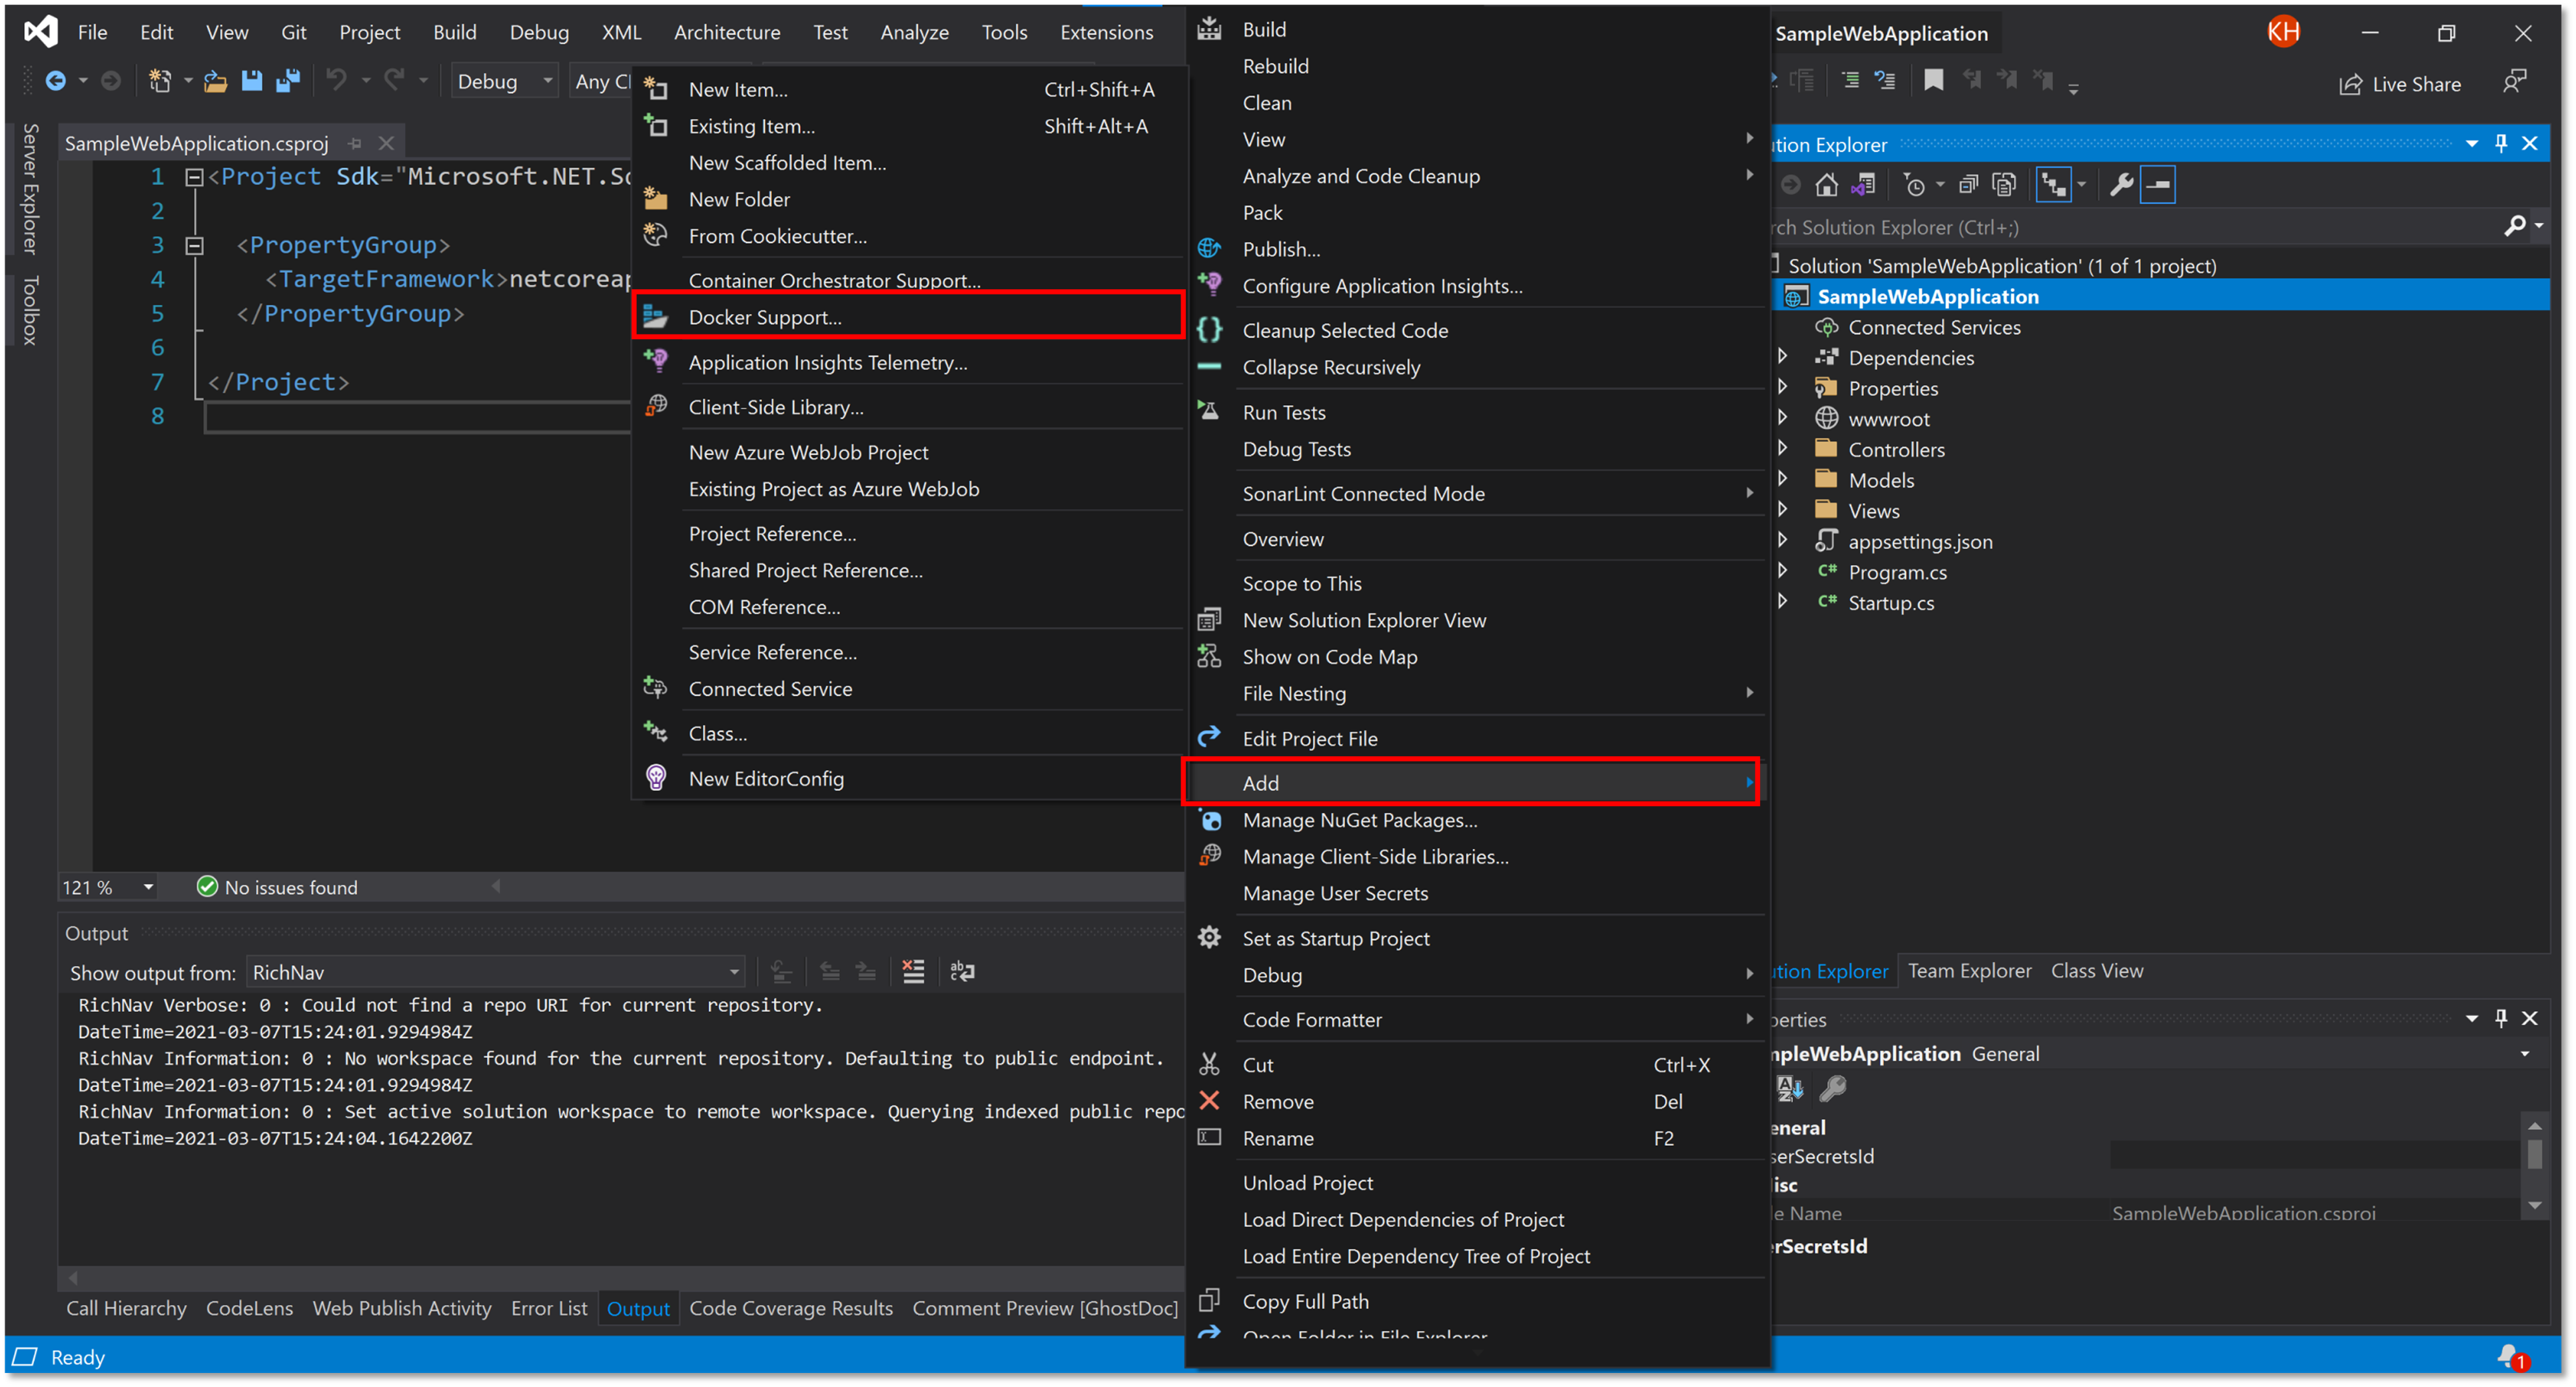
Right-click on the ASP.NET project -> Select `Add` -> Click `Docker Support`
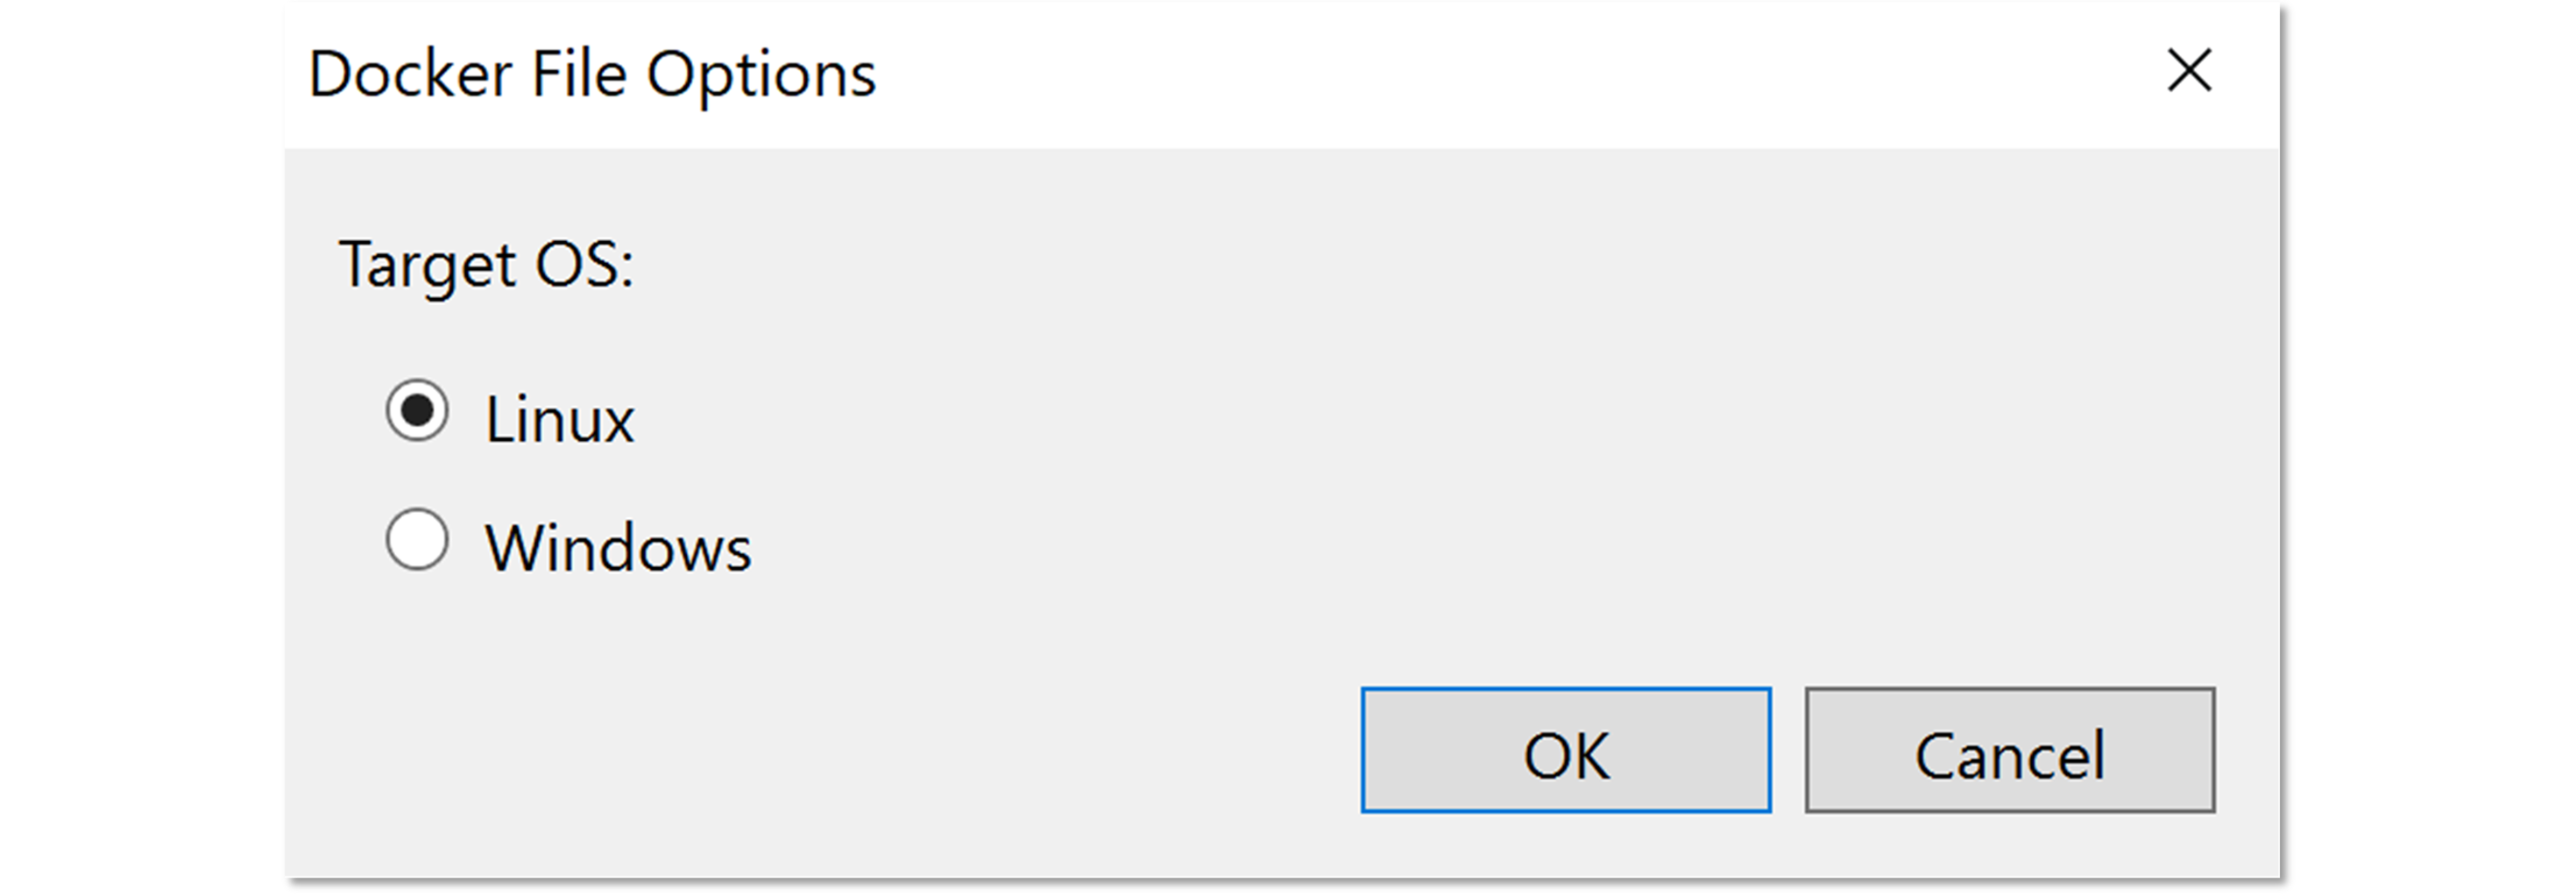
2. Choose the Target OS where the docker image will run `Windows / Linux`, and click `OK`
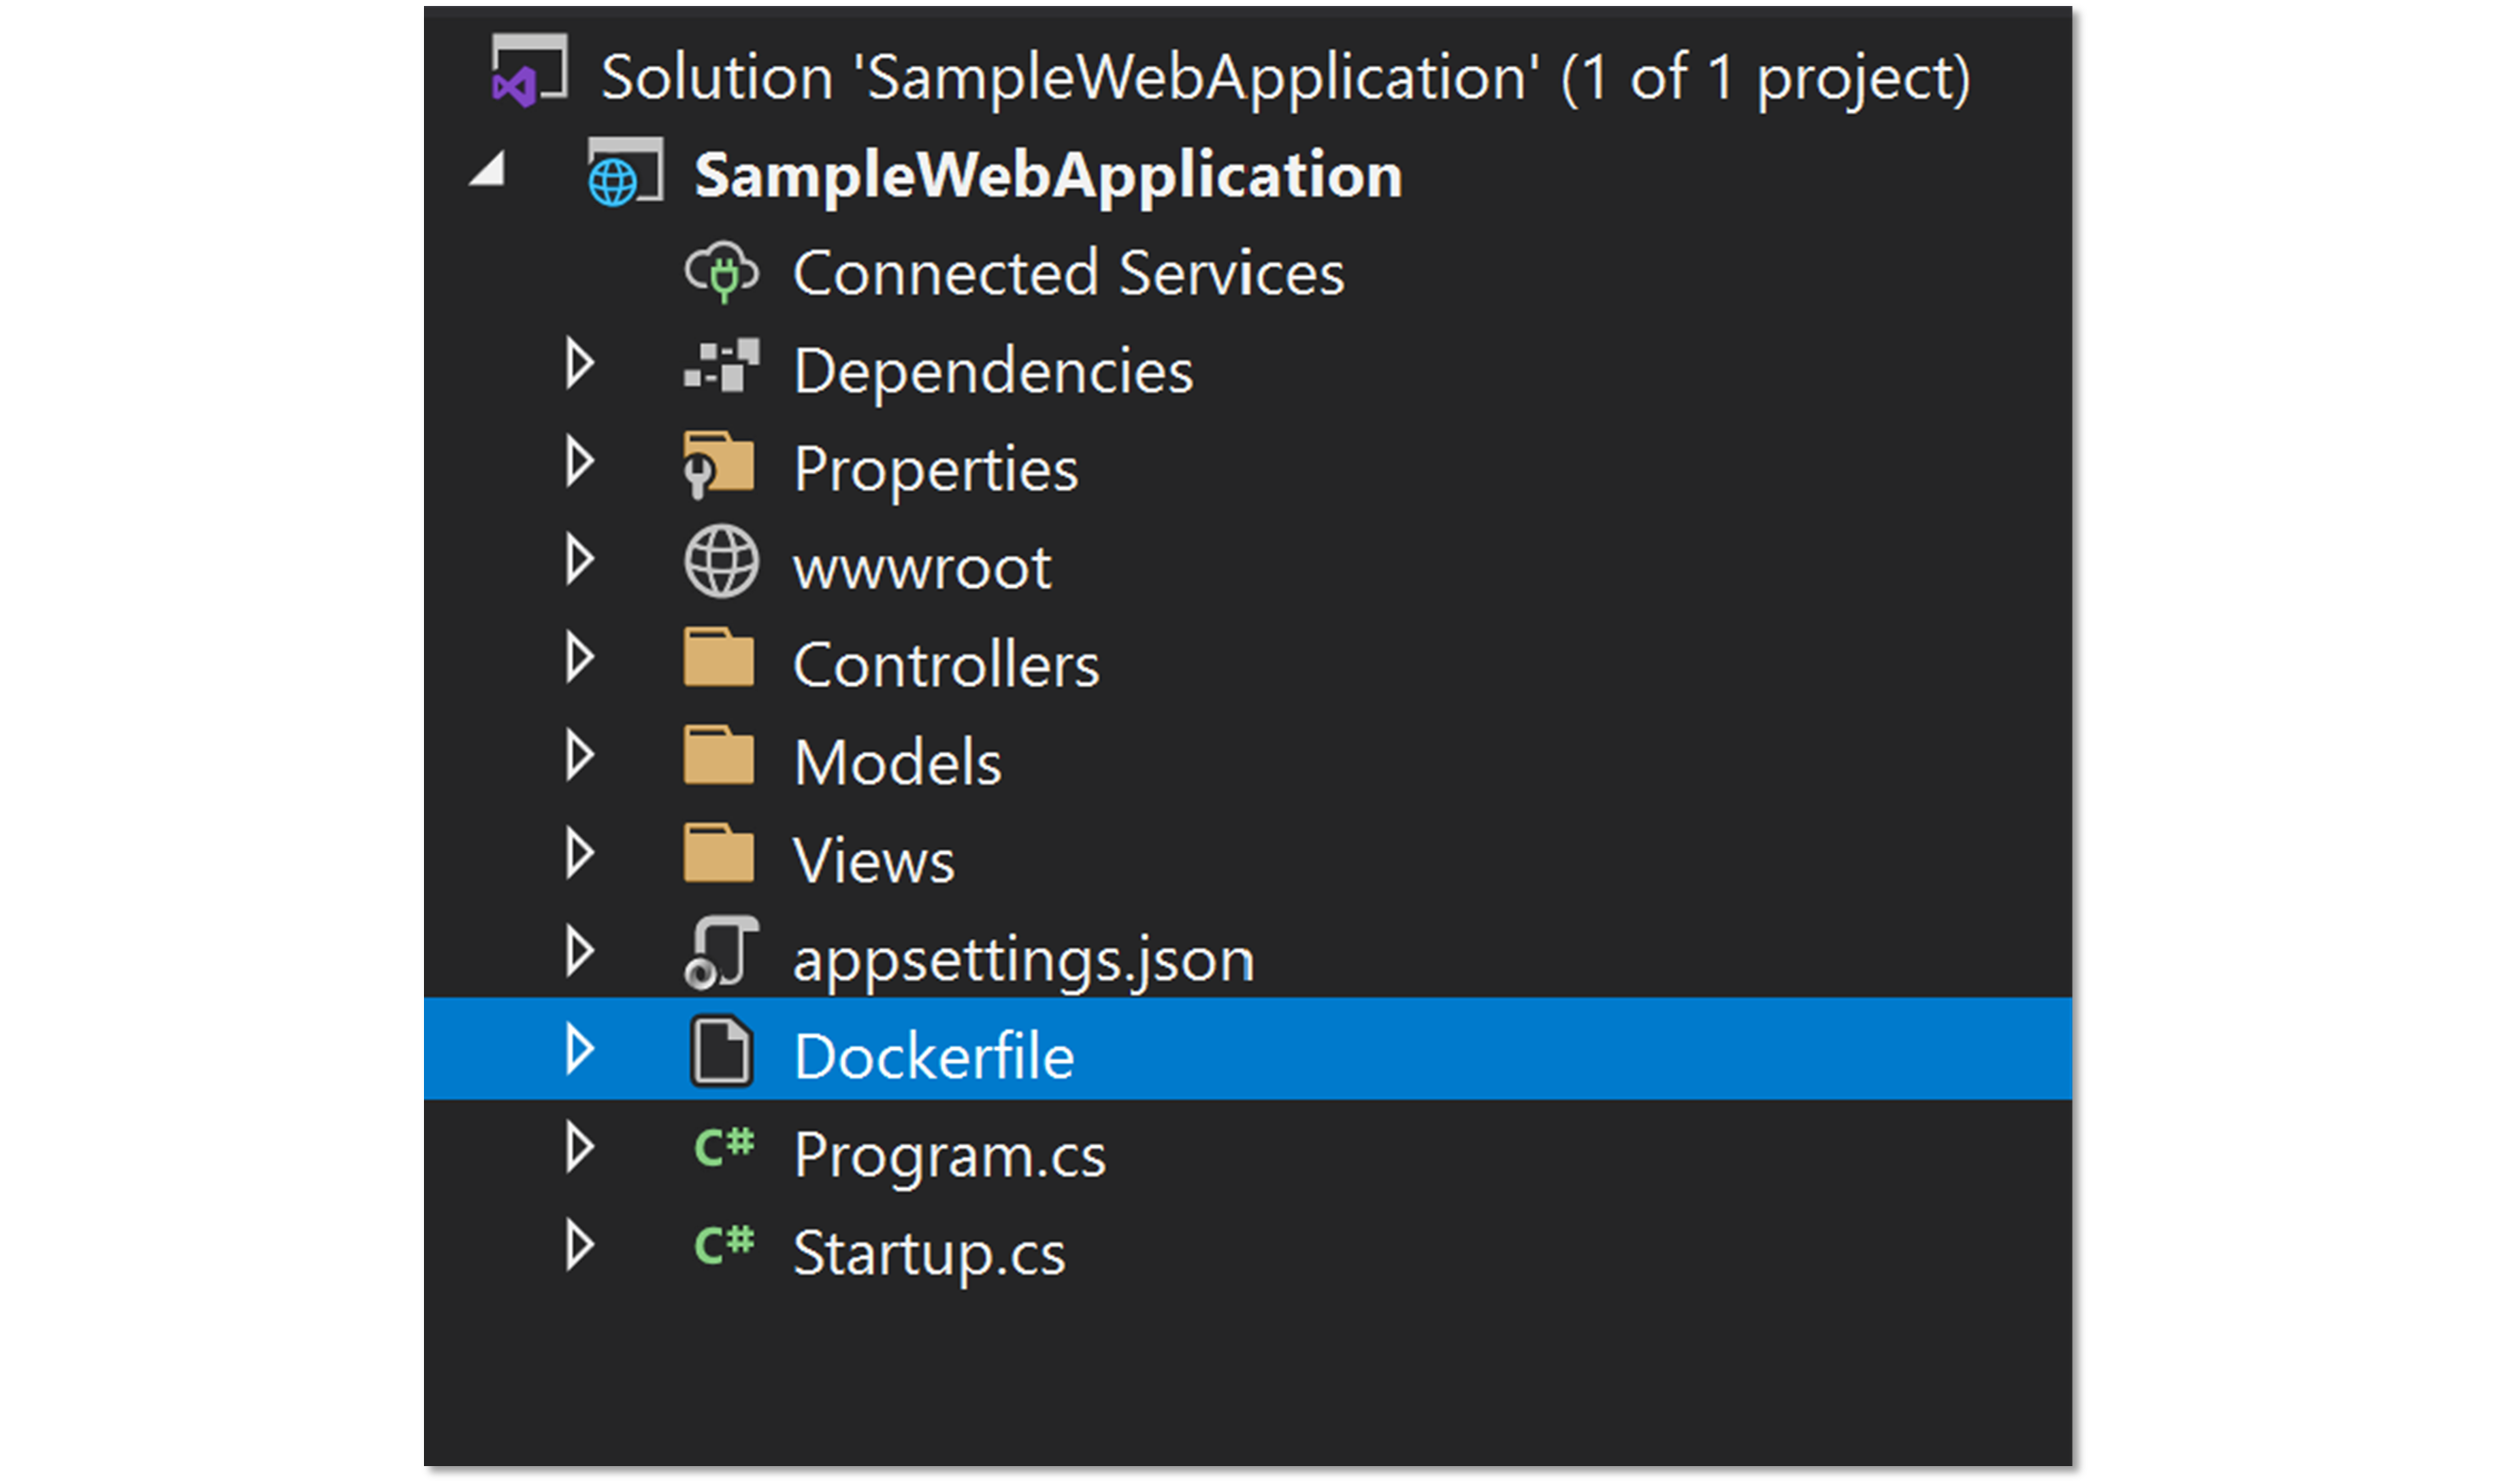
3. Visual Studio will create a `Dockerfile` for you, which specifies how to create the container image for your ASP.NET Core app project.
4. Click on the `Docker` button to build the image and run it inside a Docker container, rather than in IIS Express.

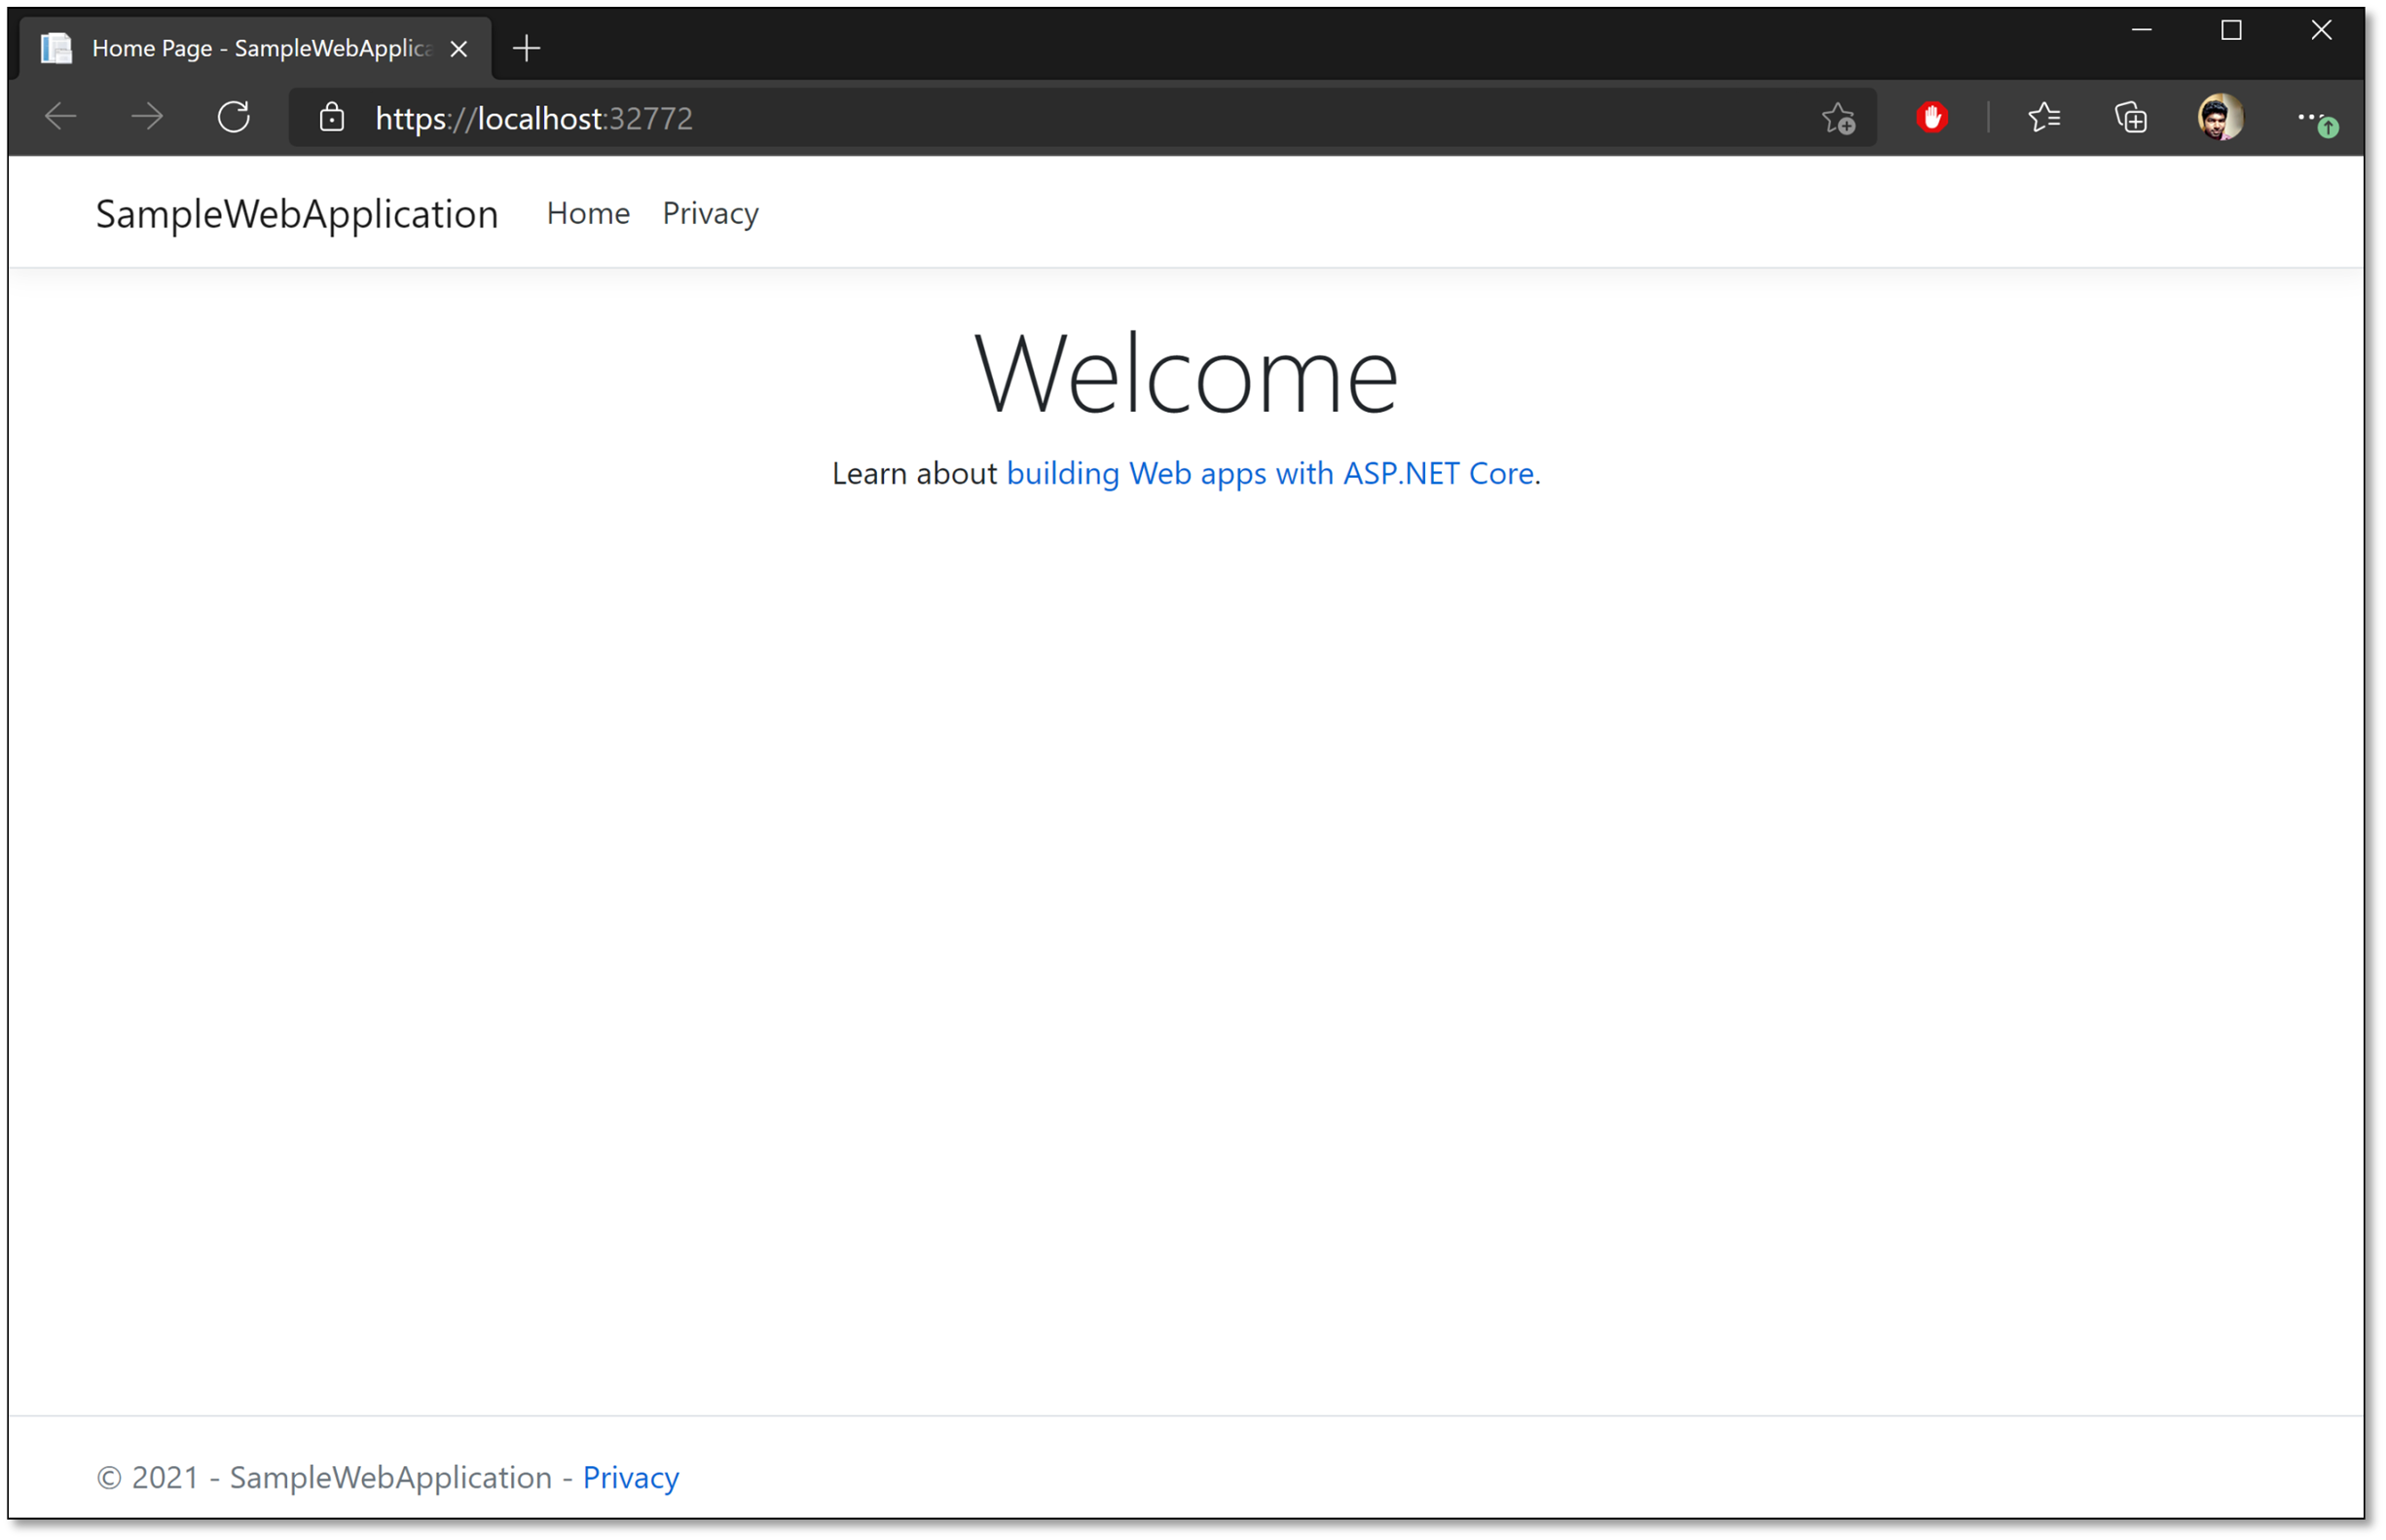
5. You could verify that your container is running using the Docker command-line tools; open a cmd or Terminal and type in `docker container ls` to view the containers.
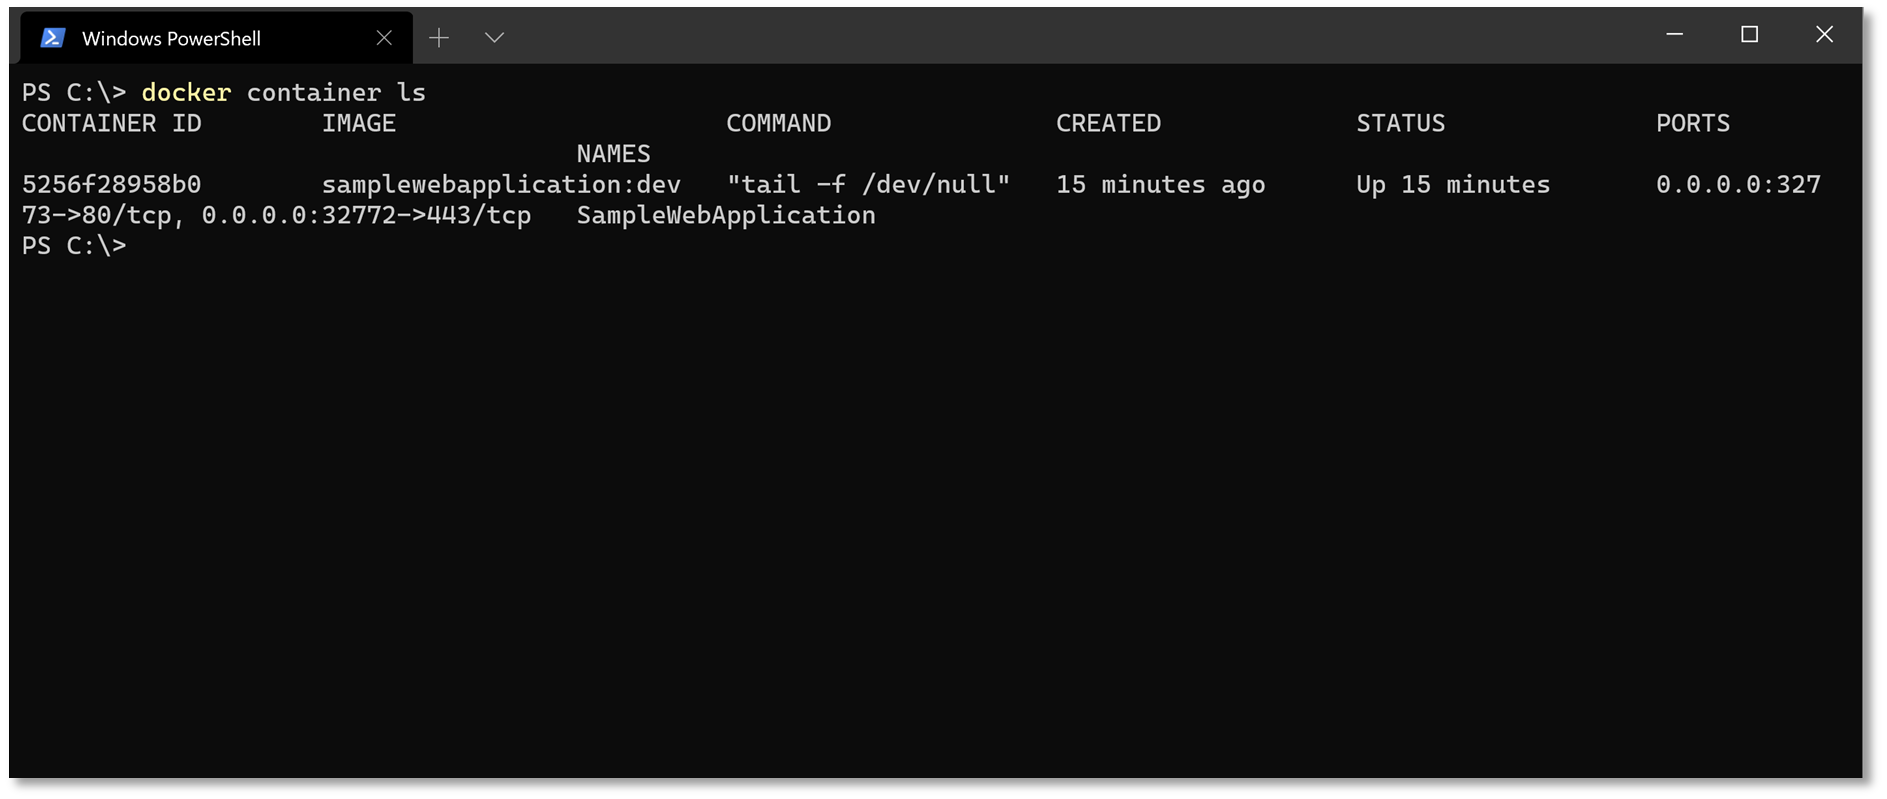
That's it, you have successfully added Docker support to your ASP.NET core app and your app is now running inside a Docker container.